A Little Light Demolition Music
In the spirit of making progress on things, today was the day allotted for demoing the ceiling and remainder of the wall for the downstairs bathroom. It was a smallish demo, so we weren't too concerned about having people come help us on this one.
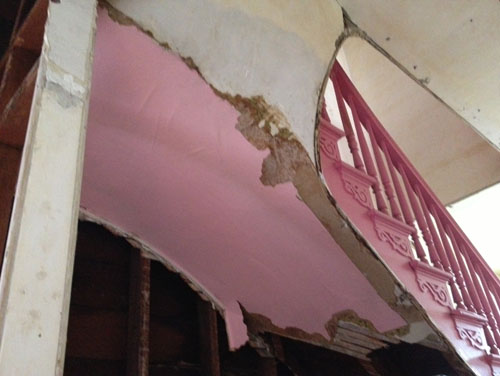
This is what it came down to: to do the electrical, venting, and plumbing work we need to do, this ceiling had to come down. It's a shame, because it is a double-curved ceiling and that is going to take all my talent to reproduce when we go to put it back.
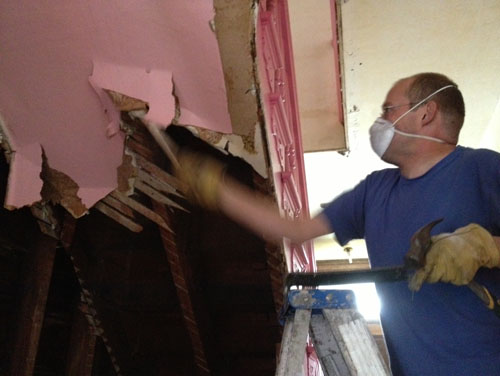
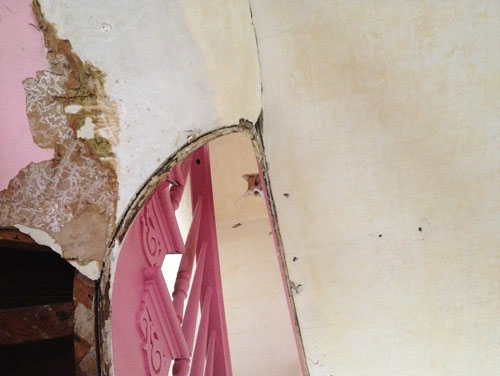
It did come down relatively quickly. Of course, it had to be the plaster in the best condition we've seen in this house. The luck of the... well, the luck of somebody not terribly lucky.
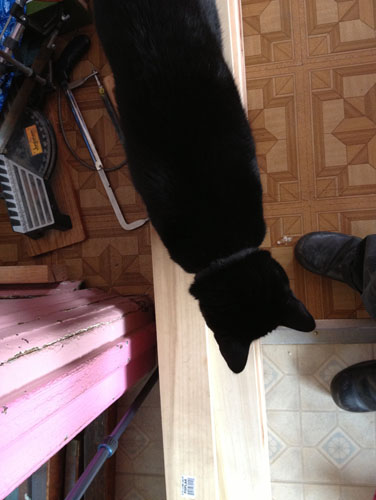
So here's the thing about the downstairs bathroom location. We have been storing construction materials in there for a while, and Mr Kitty has seen it as his personal playground. He especially liked to leap behind the furnace air return like a penguin heading for his ancestral mating grounds (actually we think he was just chewing on a loose piece of foil tape).
When we started the demo he was aghast. Finally he settled for staring at us from the upstairs hallway. And plotting new and interesting ways to get in trouble.
Dash was also worked up, wanting to get right underfoot but also sensibly scared off by flying plaster chunks.
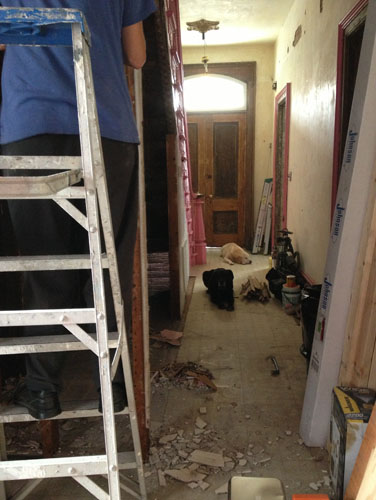
The dogs were a bit more sanguine.
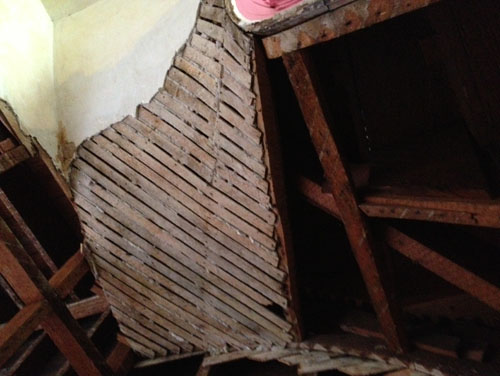
I had Noel leave the lath in place, to make reshaping the ceiling a little easier. I'll be using thin 1/4" drywall, and having a form to shape around will make it easier. Also, then I only need to use one layer.
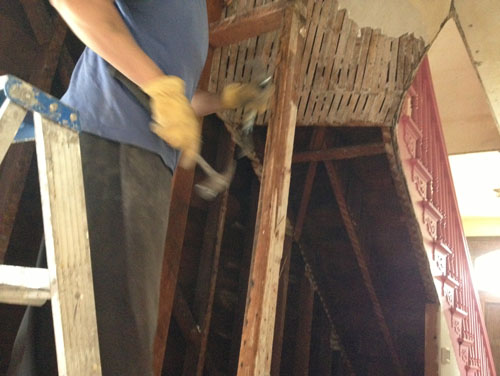
When he finished the ceiling he took some corner bead off the end stud, and cleaned it up. Our original plan was to reframe part of this wall, but it looks like we have enough room to do everything we want to without doing that. (More on that later.)
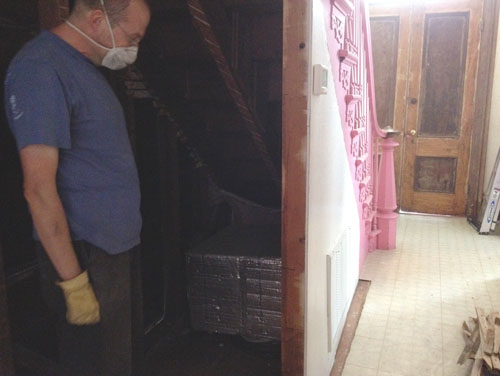
We decided we didn't need to disconnect the power to the thermostat just now, because it could be just trimmed off the wall and set aside.
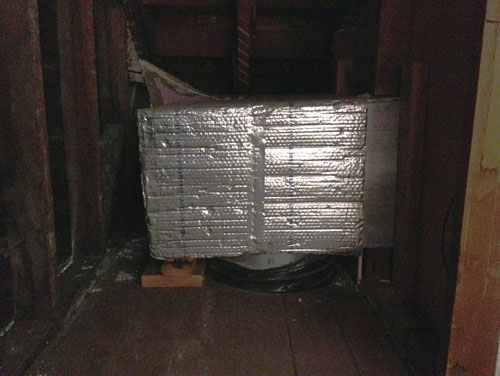
We supported the air return on chunks of wood we had lying around (Noel recently had a wood-intensive personal project that left us with lots of little weird chunks).
You can see the remaining plaster wall behind the air return there, where we could not easily get to it for demo before.
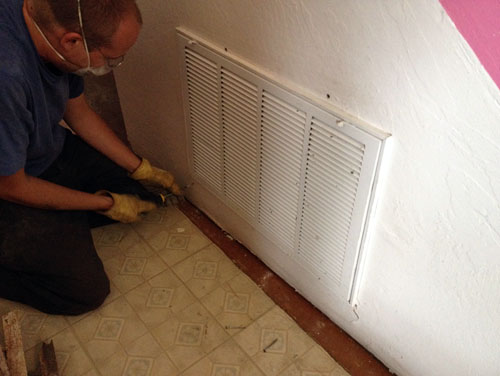
The disconnection process for the air return was mostly unscrewing. Noel got to work taking off the front, then with great tedium unscrewing all bazillionty screws holding it in place.
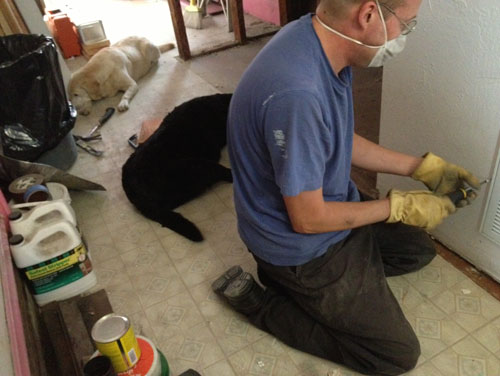
This is what a typical construction site looks like at our house. Two dogs in various states of flump just out of range of danger (usually) while we work.
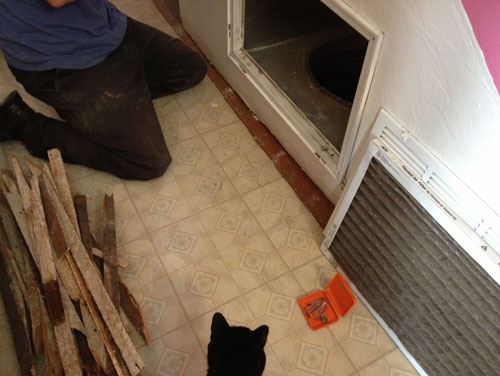
And these days, since Dash thinks he is part dog, we also have a cat underfoot.
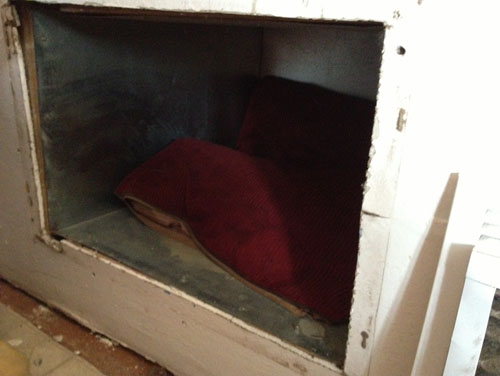
Anyway, we saw cat ears plus air return vent and thought this would be trouble, so we stuffed a dog bed in there to keep cats out. I expressed some concern that the dog bed would simply attract cats, since the cats sleep on the dog beds more than the dogs do.
Then we began disassembling this very very bad wall.
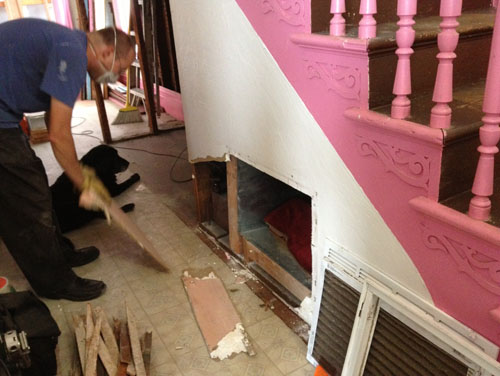
In some ways this was a very easy wall to demolish, because it was so poorly built. In other ways it was a pain, because they'd nailed the studs into the flooring (which is only 3/4" thick) with 4" nails. But for the most part, the drywall just ripped off easily.
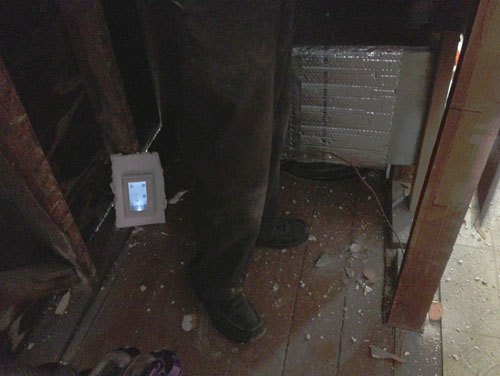
This is how we had the thermostat shunted off to the side. We turned off the heat months ago, and although it has been quite chilly some evenings I haven't really missed it. I'm not saying I want it off until December, but it hasn't been so bad this summer.
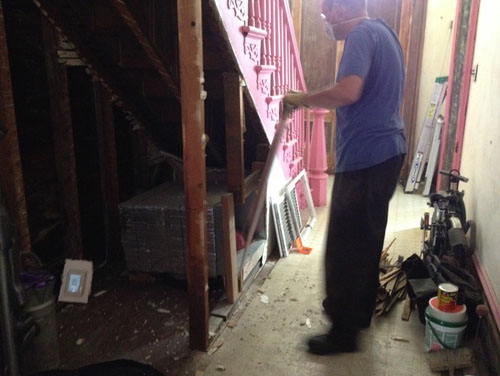
With this small project, we didn't put up plastic sheeting to protect the house from the dust, so instead we tried to keep up on cleanup as we went. We've still tracked dust all over the house, but it stayed pretty under control. It also helps when there are only two people.
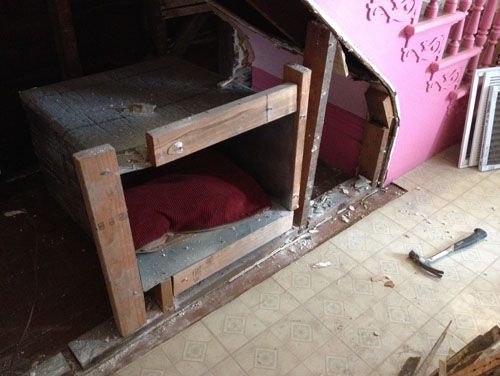
This is what was under that drywall. This framing is a mess. Some of it was the previous owners, and fine, they obviously had some trouble understanding how to do framing. But the really bad stuff is around the air return, which was done by licensed contractors. That was just screwed into the drywall.
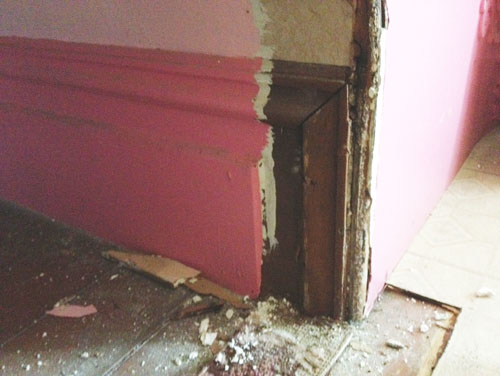
This was a fun discovery: this is the only place in the house where the trim ends without dying into a wall or another piece of trim. I like how they turned it down. Nice and simple.
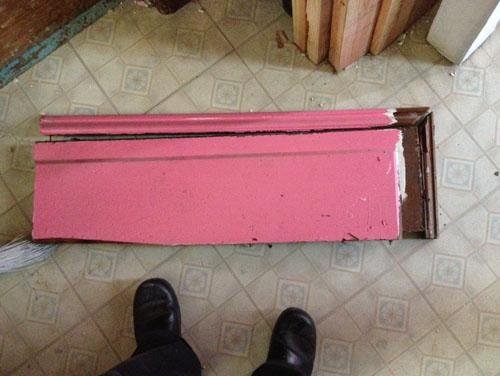
And this is the piece once we removed it. It's in pretty grim shape, but it does have an interesting history of the trim paint preserved on it.
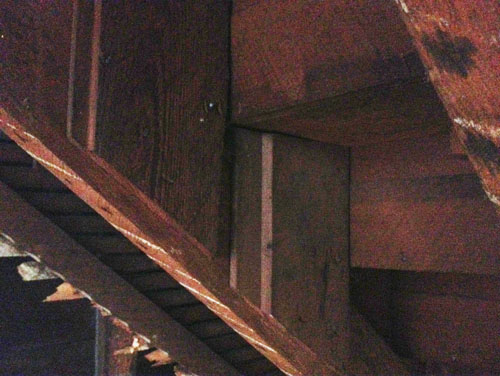
I think I may have showed this picture before, but I still find it fascinating that they blocked the stairs (in several places) with the same wood profile that is used as siding on the house, and also as part of the baseboard trim. I guess they had a lot of scraps around and no point in using good wood for this purpose.
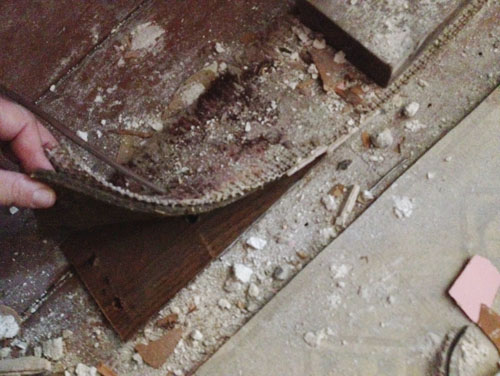
I took a minute to cut the thermostat wire free of this carpet under the framing (remember that from last time?). Building a wall right over your flooring is a sign of quality.
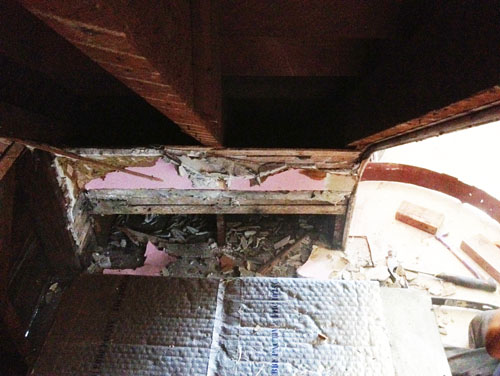
And with the terrible framing from the air return removed, we could turn out attention to the last bit of plaster. It was quick work to tear this down and get to see under the stairs.
Then we took a break to have some lunch.
When we finished lunch, I noticed the dog bed was missing from the air return. I looked down and saw this:
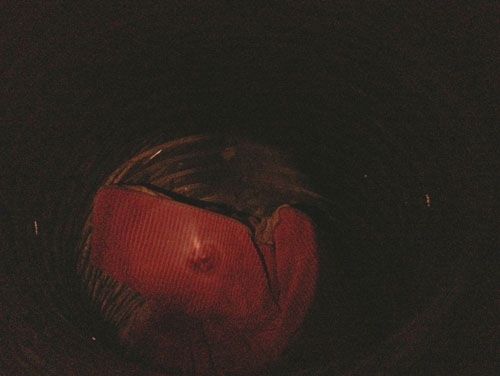
That'd be the dog bed shoved down to the bottom of the air return, of course. We did a cat inventory and nobody was missing, and the air return only goes down a couple feet, so no biggie, but still, stronger defenses were called for.
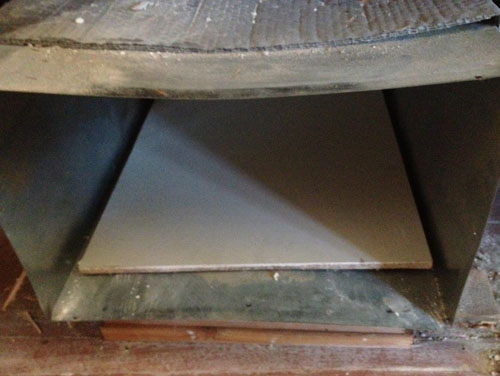
I believe 5/8" drywall will do the trick.
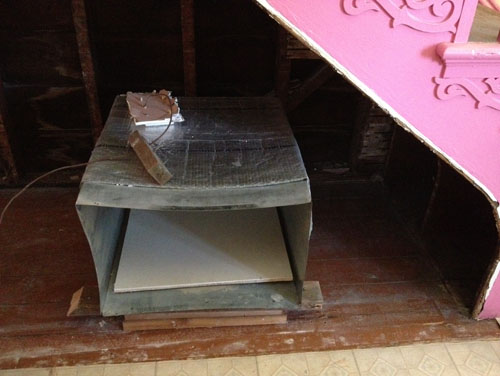
When we got things cleaned up, we had a little discussion about how it would be nice to have that whole area as an under-stair alcove for storage or hiding from Nazis or things like that. Too bad that enormous air return is in the way.
Then Noel suggested we could move it to the closet, and some intense stupid math later, we discovered that yes, we could move it to the closet. That will mean repairing this floor, but it's a closet, so no big deal.
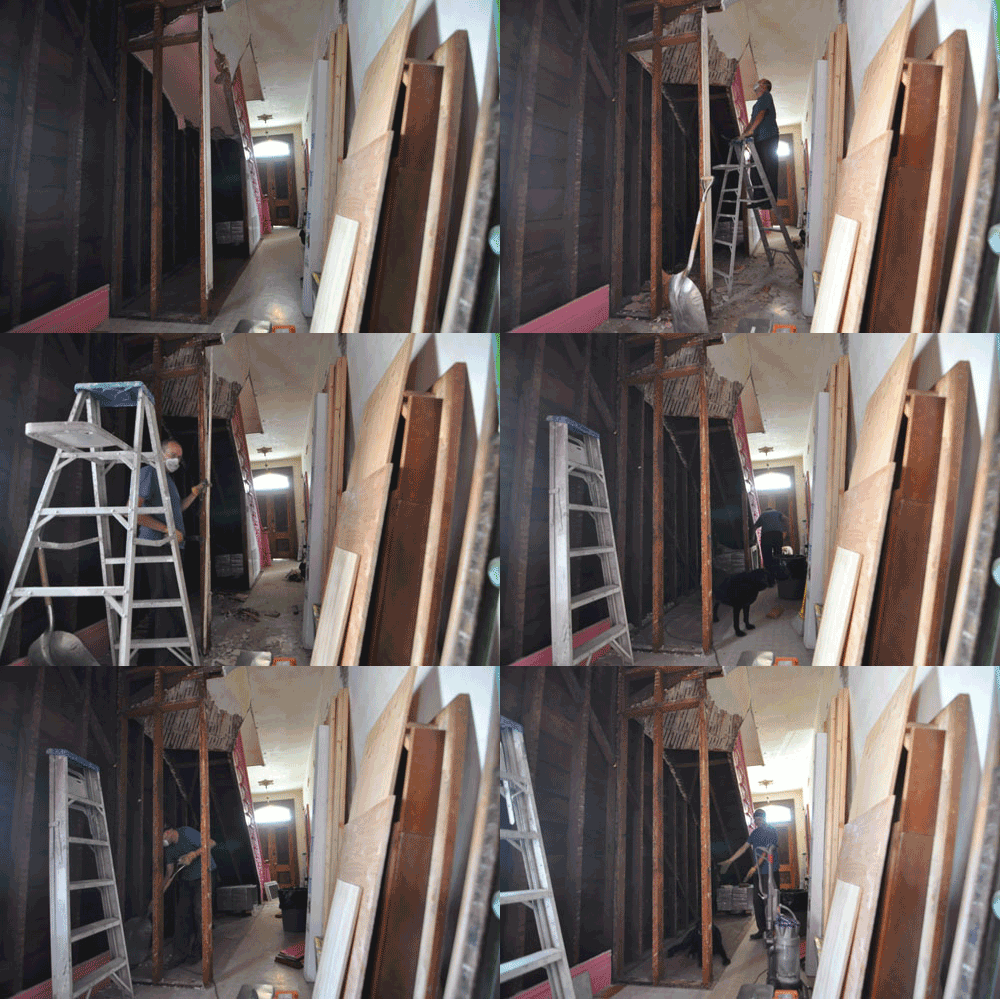
And finally, our little time-lapse of the day. Only a couple hours, actually, so good job us, getting so much done and still having time to lounge around and talk about what to put in our hidey-hole.
posted by ayse on 09/14/13