Post Post Post
The thing nobody has given us grief about is that our back hall is about to get a lot smaller. I mean, sure, who the heck cares about the back hall. It's just going to get a closet. But closets are 24" deep plus 6" of framing, which is actually a lot of space to give up.
In any case, this is where the new hall closet is going, future home of all our many coats:
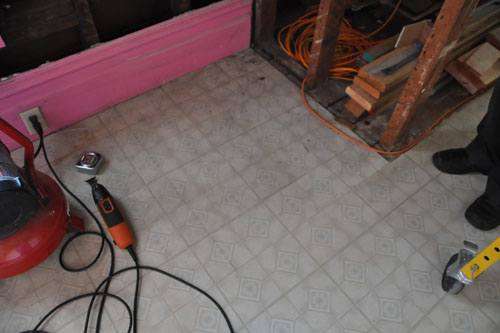
Noel took the Fein tool and cut the lines out neatly, so it would be easy to pull up the floor.
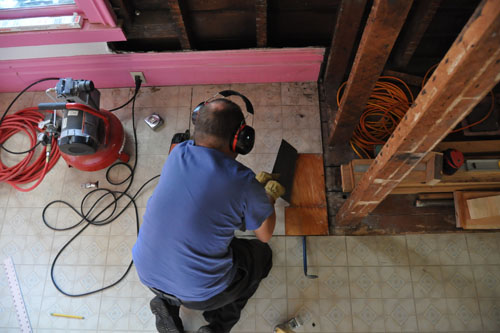
I think the hall floor is actually in good shape and will be easy to remove.
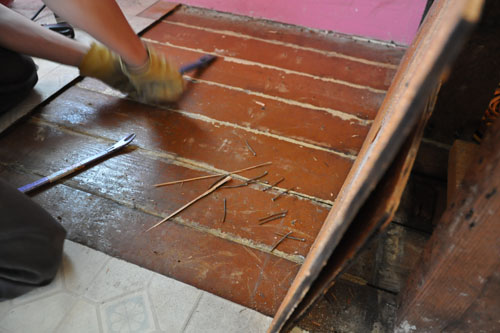
In fact the hardest part was removing the ridiculously long nails they stuck in there to hold the plywood in place.
I think redoing the hall and dining room floors will be easy.
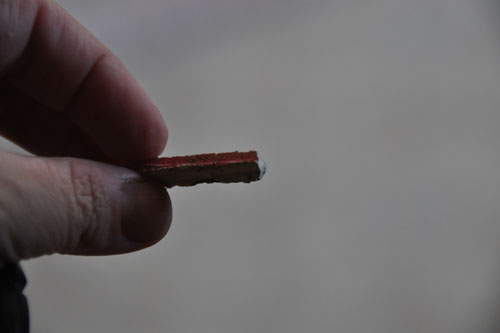
This is a little chunk of the caulk they used to level the floor and close off those air leaks years ago. It's hardened a lot and is not longer workable as caulk, but it's clear why it was installed.
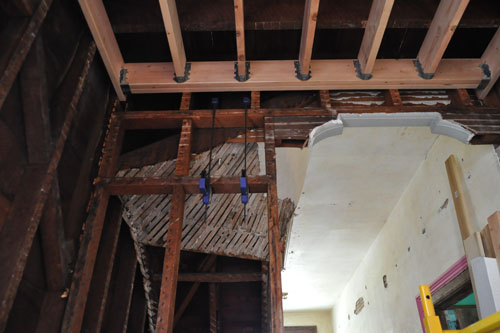
After we cut away the floor, we did some framing. In this part I carefully elide the hour or so of measuring we did to be sure we were doing things the right way.
One thing Noel did was clamp the wall that we're going to be cutting apart together to help keep from causing too much chaos.
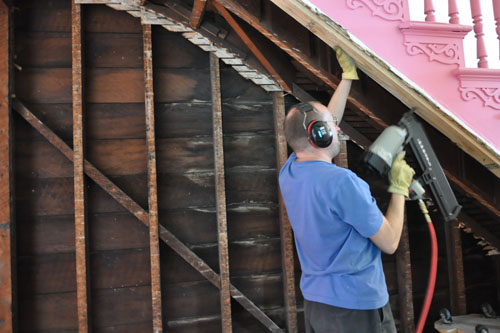
We installed the new slanted header over the new bathroom wall, and discovered that the reason why the old wall was installed crooked was that the stairs themselves have a decided lean, which made it so we had to decide between matching the angle of the stairs or the wall.
That was god fun.
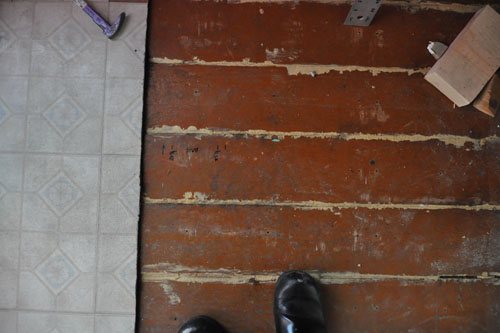
We used a Sharpie to mark the floor at critical places. This is one of those experience things; I used to be concerned about ruining a Sharpie with dirt, but now I don't care. I have a dozen more Sharpies where that one came from, and if it is ruined then screw it.
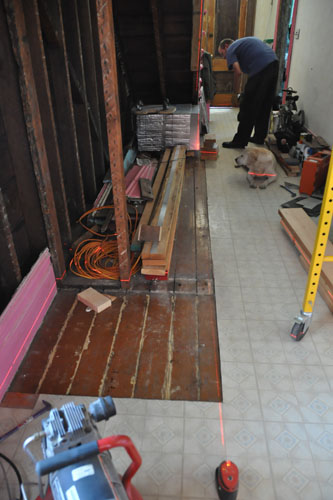
We measured and remeasured and used the laser level and checked again a hundred times, and finally we made a couple decisions.
First: people will notice the wall being off the staircase before they will notice the wall being off the floor.
Second: we can hide the wall being off the floor more easily.
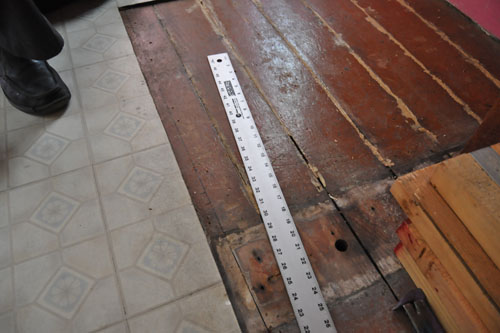
So I used the Sharpie and a straightedge and marked the laser level line for the new wall.
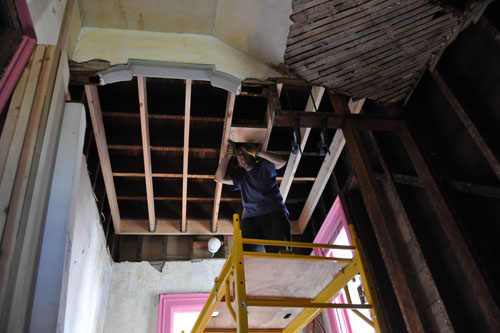
Once we knew where the new wall would go, we added new blocking in the ceiling for the new framing to attach to. This will help with the drywall work later, too.
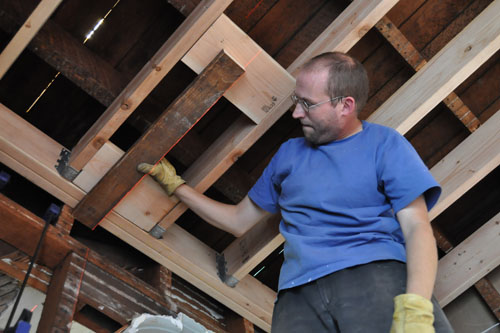
The laser level was invaluable in this work, as well, showing us exactly where the new framing needed to go.
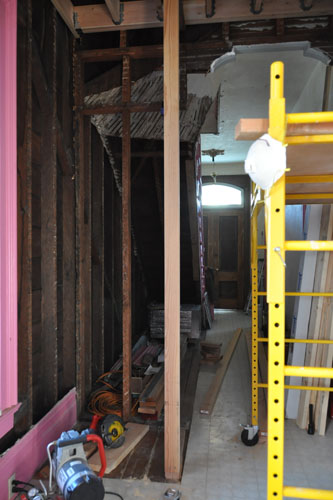
And finally, our first feel of the new hall. I'm looking forward knowing our new walls.
posted by ayse on 10/05/13