More Framing
With the air return moved, it was time to frame around it. Indeed, this will be the first time this air return has actually been properly installed.
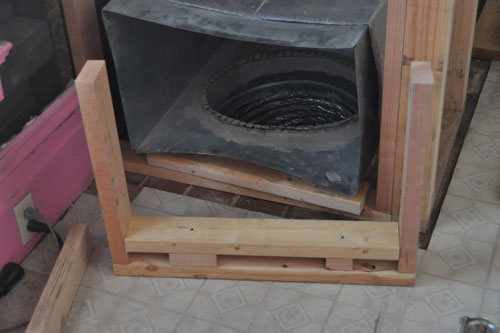
The return is quite close to the floor, so Noel made the bottom of the framing first, basically a little chunk of wood.
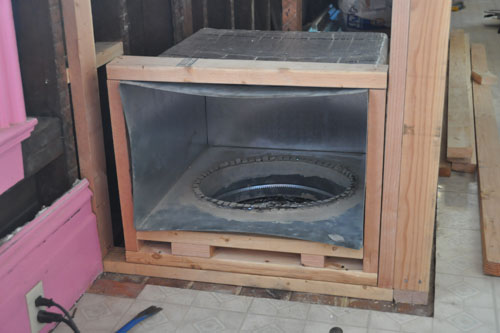
On one side we end up with basically a gigantic chunk of wood stuffed together.
(We still need to get the right sheet metal screws to attach the edges of the air return to the framing.)
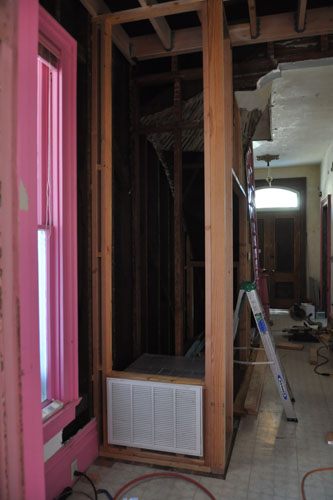
Noel redid the framing on the outside wall side of closet. At this point we're basically making it match the other side so the door to the closet is symmetrical.
The next step here is to frame the floor of the closet.
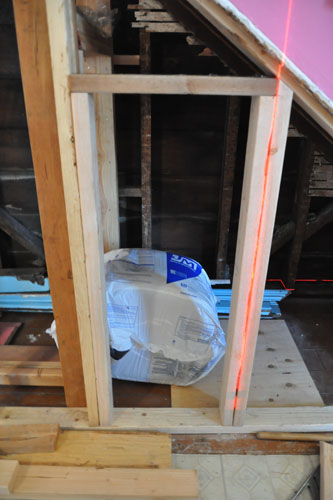
Then Noel framed the opening for the little hidey-hole closet at the foot of the stairs. This has the potential to be very, very cute. He framed the doorway with the same proportions as the other doors in the house, only smaller (we will eventually cut the framing across the floor away; it's easier to leave it for now)..
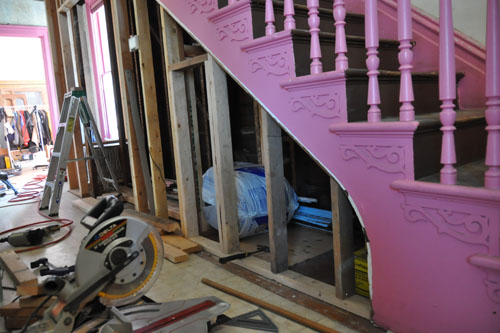
And he filled in the rest of that wall.
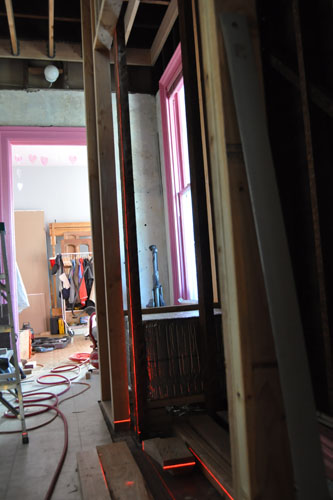
The last bit of work he did was to take the old 2x4 we moved out of the way to put in the pocket door and reinstall it in the wall that will be behind the sink, basically a few inches from where it had been.
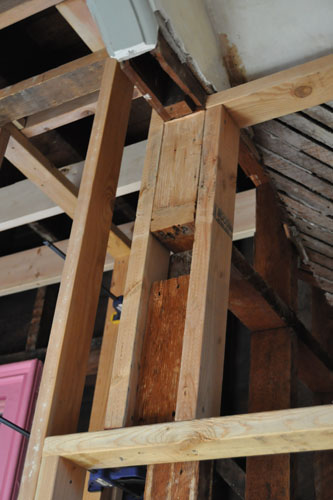
This may be a little hard to explain, but basically at the bottom we have the top of the pocket door framing, and behind it you can see the moved 2x4 (in that position it will help us install drywall and the new sink). Above the door framing a couple of new modern 2x4s go up to the bottom of the stairs, on either side of the little weird wall where we cut out the old 2x4 (the wood looks new on the end because it has been cut). Noel used some chunks of of 2x4 as spacers to keep things even.
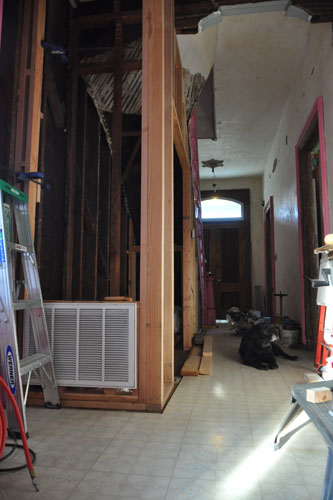
Anyway, trust me, things are coming together. Framing is slow and tedious but at the end of the day you get actual stuff. And there's fewer piles of lumber on the floor, which is a win.
posted by ayse on 11/17/13