Insulation in the Hallway
We took some time off to have Thanksgiving dinner. It was good. Then we figured that with four days off we should put in a day of work on the house, no?
The project awaiting our tender ministrations was the insulation in the upstairs hallway. This is a timely project because it is turning cold now, and the heat is whooshing out the openings in the siding.
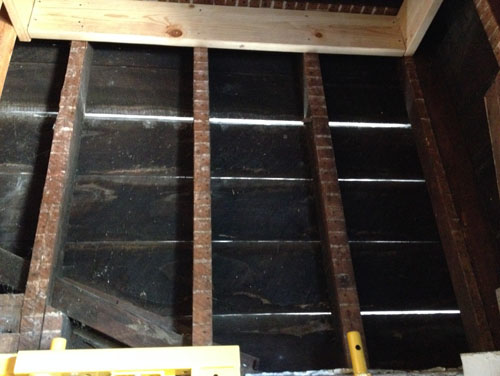
You may think that was hyperbole, but it was anything but.
Before we put in insulation, we needed to add blocking. Blocking is wood framing that keeps fire from spreading from floor to floor. By code it's required every ten feet on a vertical wall, and Victorians never ever have it.
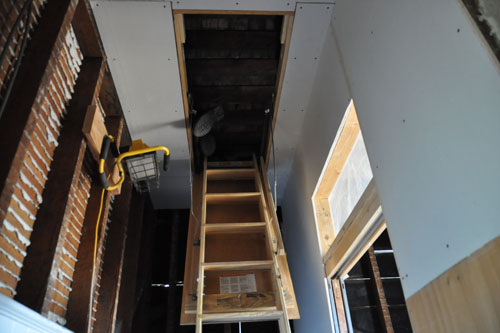
We talked through where the blocking would have to go, both in terms of accessibility and where it would do the most good. I am actually a fan of doing things that prevent the spread of fire in houses.
Then Noel crawled up into the attic on our WONDERFUL ATTIC STAIRS and looked at what things were like up there. There wasn't going to be any better access from above, though, so that great idea was out the window.
Installing blocking is pretty straightforward. You cut the piece to the width of your opening and nail it into place. This was made much easier by the palm nailer, and the chop saw which we borrowed from the neighbor to help finish up the framing.
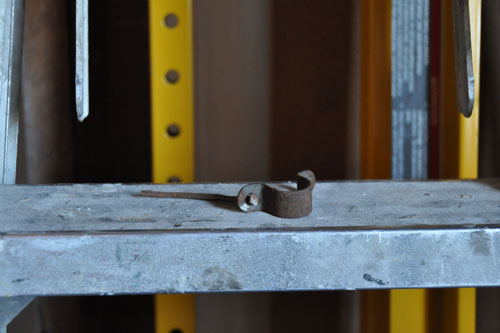
This old tie-down for the gas lights was in the way, so it got pulled out. It's funny how similar it is to a modern piece for the same purpose.
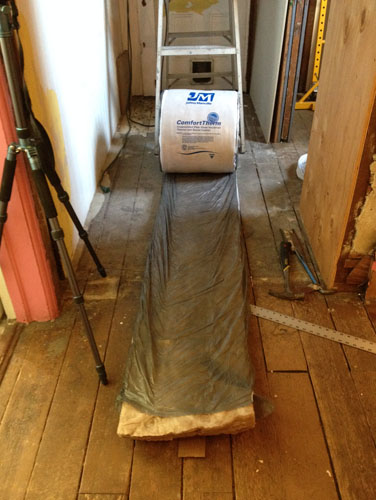
We'd bought a roll of insulation, and I unrolled it and cut pieces to length.
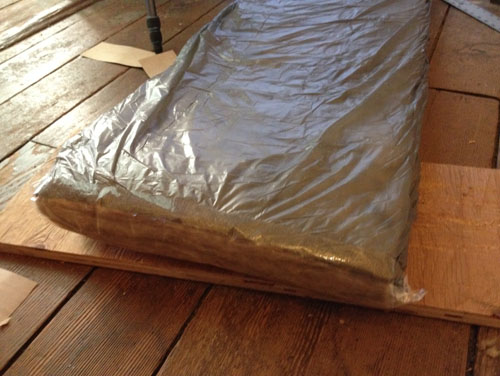
Each piece was taped on both ends to help keep water out. We know a lot of water gets in our walls; that is how Victorians are designed to work. But I do not want the insulation getting wet.
In addition, we use rafter vents (Durovent) to provide an airspace between the insulation and the walls. That lets the walls behave a bit like a rainscreen, as they were originally intended to do.
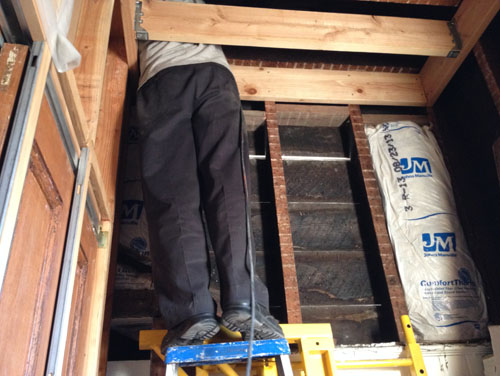
We ran the insulation up to just under the attic "floor" (if the attic had a floor, that is). This was made easier by access from above.
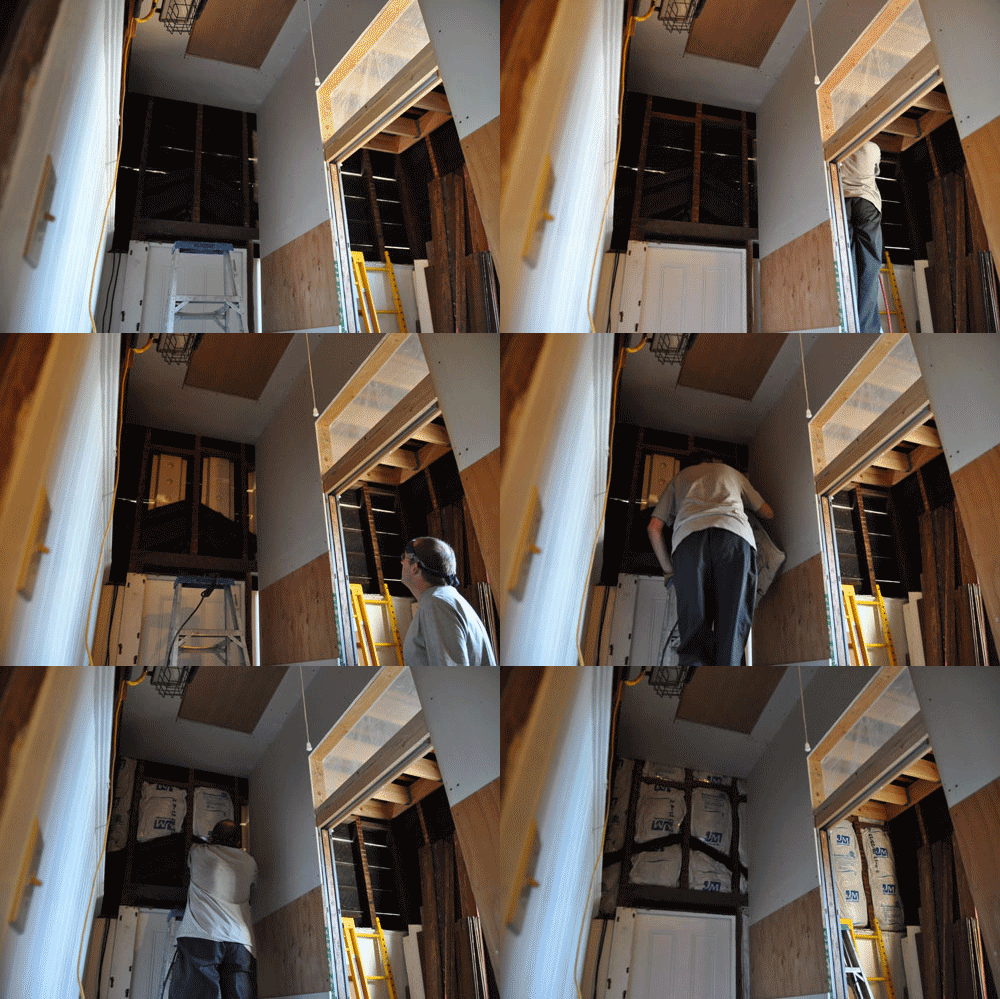
And here's the process: add blocking, put up Durovents (which we did not do all at once), install each piece of insulation.
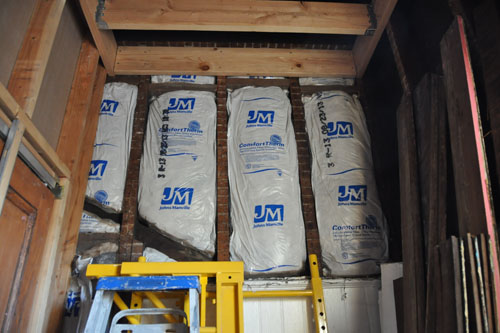
And this is what it looks like inside the bathroom. It's starting to get real. I even brought home some tile samples to see in place this weekend. Tile samples! Like we might actually someday finish this thing!
posted by ayse on 12/01/13