Half a Wall
In order to install the upstairs toilet tank, we need to have a wall that can hold it. In order to make that wall, last week we removed a bunch of the existing wall. Today we began slowly putting it all back together again.
We started with a quick trip to Economy Lumber to get some plywood and see if they had the type of flashing I want to use for the new siding, which they did not (but the local plumbing supply place does carry it, so I can stop by one day this week and pick it up).
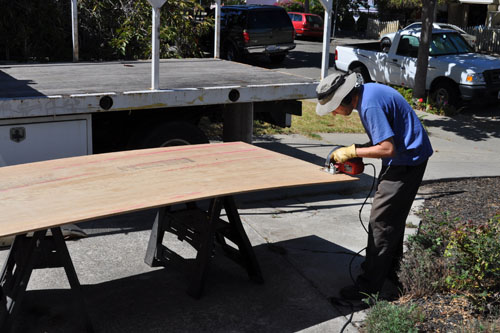
Then Noel cut a few strips off the plywood to use to thicken out the joist right under the toilet.
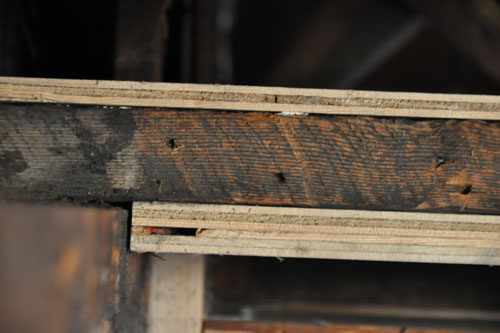
Like this. Normally you would have the wall below, then a ceiling, then a plywood floor on top of it, then set your new wall on that plywood floor. But in our house, because of the wonky pre-standard way of building, things just don't come together that way. So we are improvising a little.
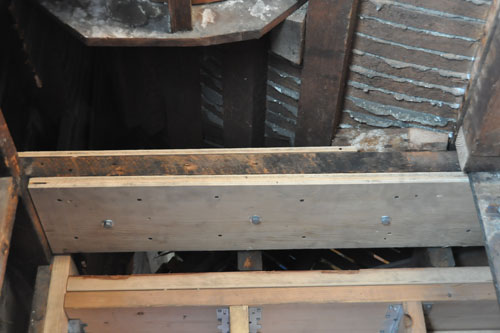
Noel made neat work of assembling the thickened joist with screws, bolts, and a lot of construction adhesive. This makes it all act as one cohesive piece.
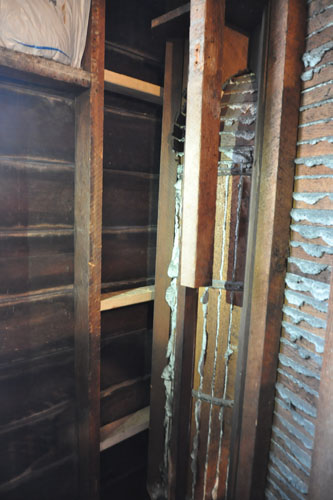
Then he installed blocking in the wall, nailed in place between the two studs of the exterior wall.
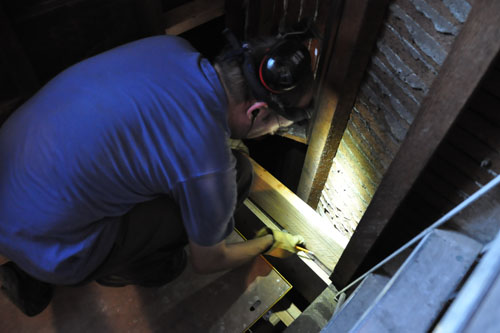
The first piece of the actual new wall that went in was the sill plate, though it had to be notched to fit around the existing structure. The top of the staircase is on the other side of that wall, and the curve thins out the wall a little on the right side.
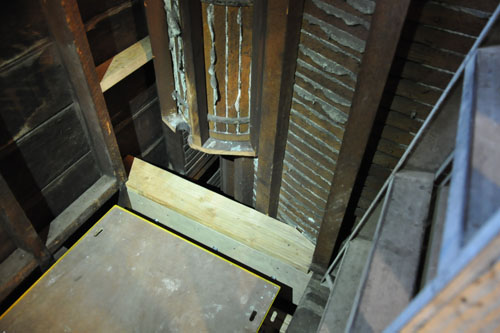
You can see how the thickened joist keeps the new sill plate from being able to rotate on the end of the joist. That's pretty much all that wood is there to do.
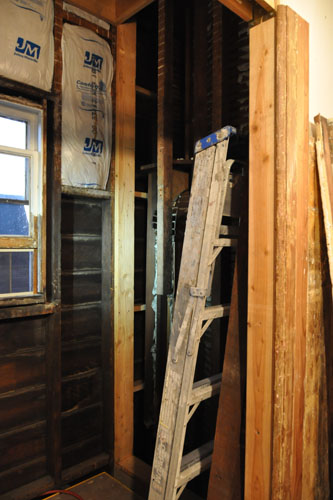
With that in place, Noel also nailed in the new stud, which will hold one side of the toilet tank, and also act as a nailer for the drywall that will go over this wall.
posted by ayse on 08/30/14