Closing in on the Drains
Noel was out of town for a couple of days and we hosted Thanksgiving, so not much was going to get done on the house, although I went through the Accordion Room with sword and flame, decluttering and rewinding balls of yarn that Dash had loved a little too much. But that did not get us forward on the house work.
This afternoon we had some time to get some work done, so we worked on the drains. Again. They do seem to take a lot longer than I expect every time. I always feel like we're just going to pop things in and have them work and then there's some stupid piece of framing in the way that we have to work around.
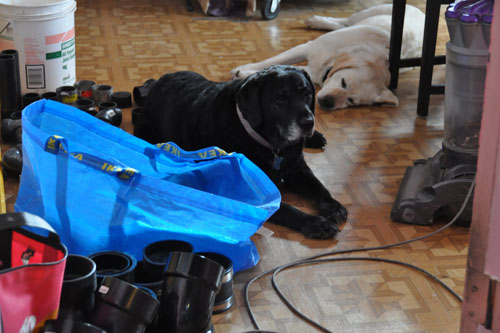
Rosie and Bunny (this is the name that seems to have settled on her) helped out as only older Labradors can. I think Bunny is doing it better, though.
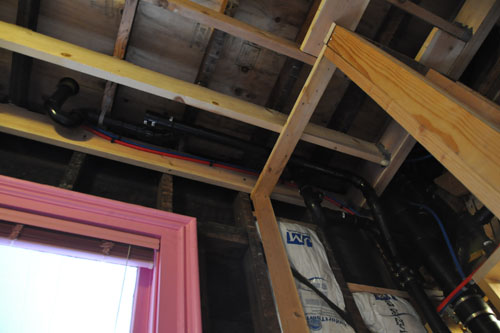
While the dogs napped, we finished the drains from the shower (enjoy trying to see anything in that photo). That went pretty well, and our houseguests were away, so we decided to do the connection to the main sewer line.
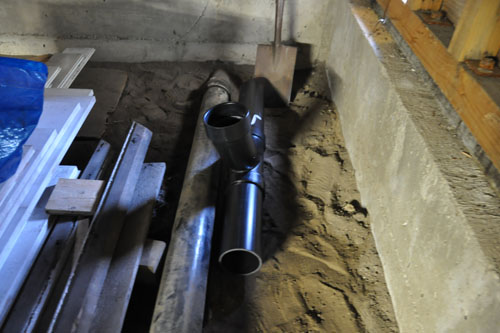
The easiest and least poopy way to join onto the main drain is to make a piece with one tee on it and a couple of drain arms, then slip it in place with flexible connectors. So we constructed that piece.
On your ordinary drain you may need to make two cuts, to slice a piece of the drain out and replace with the section you've made. But on our drain there was already a flexible connector very close to where we were going to install the tee (you can see it in the photo near the wall), so we just decided to make only one cut and save ourselves a little poopy drain cutting time. It meant one leg on our piece was a little longer than it needed to be, but saving materials was not critical.
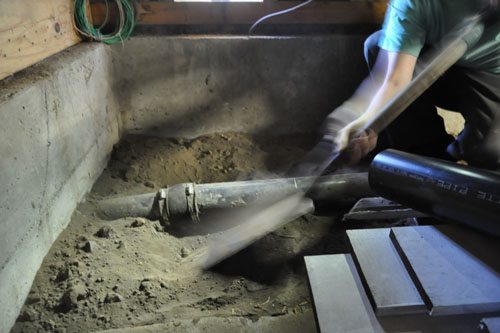
And then we dug out the point where the sewer lateral (the connection to the city sewer line) joins the main house drain, because we were going to add our piece in right there.
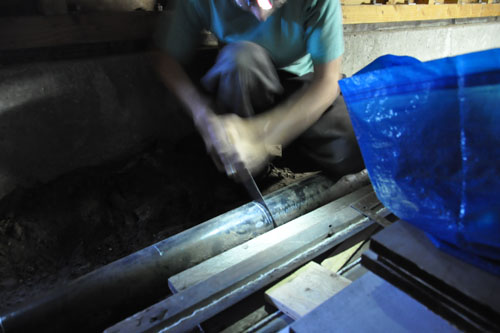
Before working on this, we flushed the toilet a few times to kind of rinse the line if there was anything there, but when Noel sawed through the line it was empty and only a little damp on the bottom. So I guess the slope works OK, which it ought to since this line is only about 9 years old.
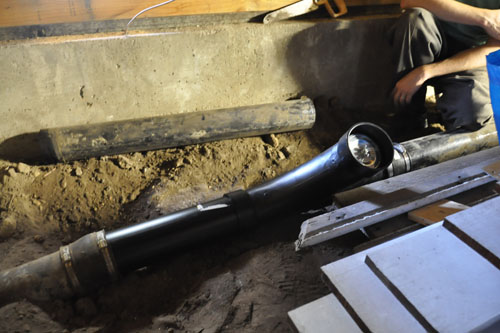
The section we installed went in really quickly -- you can see the part we removed at the back there -- and I stuck a test plug in the end to keep any sewer gases away, since we'd be working in the basement for a while. (I took that out when we actually connected that end to the new drain.)
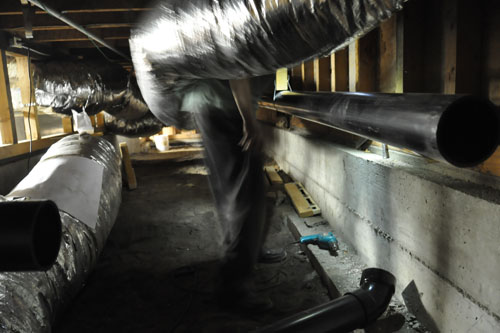
Then we started at the end of the drains we'd already installed, right at the toilet in the powder room, working our way back to the tee we'd just installed.
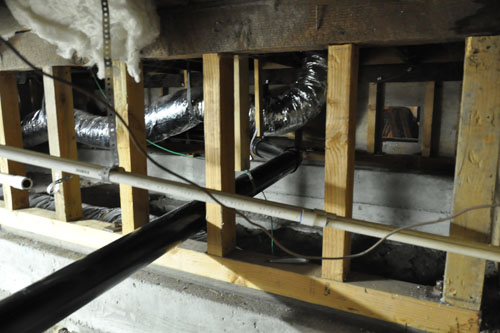
It wasn't speedy, but it was pretty straightforward: install pipes, turn the corner, add the supports to keep them from sagging under the weight of the water (most important during the pressure test that will happen next week).
The hardest part was a half hour wrestle-fest with a flexible connector at the very end.
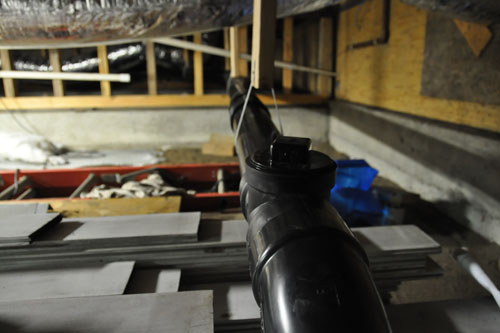
At the end, we installed a test tee, which we can open up to stick in a test balloon. When the drains are tested you have to fill them with water up to the roof, and so you need to insert test plugs in every drain opening, and then one down at the bottom.
We installed it this way so that when we let out the pressure on the test plug at the bottom, the water in the drains will empty into the sewer line rather than, well, all over the basement, I guess. The roof is about 30 feet above this point so that is quite a column of water to have to deal with.
And in other developments this week:
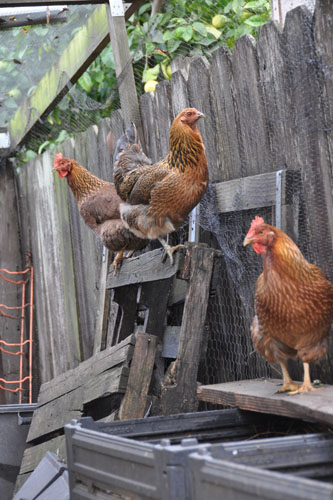
A friend of mine in Grass Valley has an organic egg business, and she offered me a couple of older hens who were candidates for retirement. So in a fun twist on the classic parental lie, her chickens left the farm upstate and came to live in the city.
They're Welsummers, so they lay dark brown eggs (though they are past their laying prime, so we will see when we get eggs from them). Noel was up in Reno visiting a friend for a couple of days and picked them up on his way home, so we just set them on the roost in the middle of the night when he got home. When we got up in the morning all the kinks had pretty much been worked out. I'm sure it helped that they are matched in numbers and size to the existing chickens.
In the next week, we hope to final the rough plumbing and ventilation so we can start closing in walls.
Our emergency order of some more water supply line parts is due to arrive Tuesday, so we'll finish off the supply plumbing by then so the rough plumbing inspection can happen Wednesday or Thursday (assuming inspector time). All we have left on the drains is finishing connecting up one vent and then carefully checking all the plugs for water tightness. The supply plumbing needs those last connections, plus we need to tap into the house supply for cold and hot, and we need to put the stubs on all the faucet water supplies, capped so they can be under pressure when the inspector gets here.
For ventilation, we need it to stop raining for long enough for us to drill a couple of holes in the side of the house for the vent flaps, and then we can install the vent pipes to those flaps. We have all the pieces, so we just need to get that done.
posted by ayse on 11/30/14