Trim Restoration
The most tedious part of the exterior restoration is the process of getting replicas of the original trim pieces made, or fabricating them on site.
Woody has set up a wood shop in the kitchen and dining room, and is hard at work taking blank wood or milled wood and turning it into the various missing or damaged parts of the house.
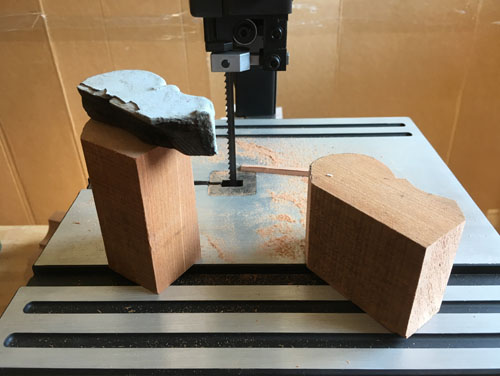
One of the big expenses we had over the last couple months has been buying large pieces of antique redwood and having them milled to make the various profiles. The wood we got is gorgeous, and because it is exactly what was originally on the house it just works.
Woody did all the legwork of figuring out what needed to be replaced, how the profiles went together, then tracking down pieces of wood, and having them milled to match our profiles.
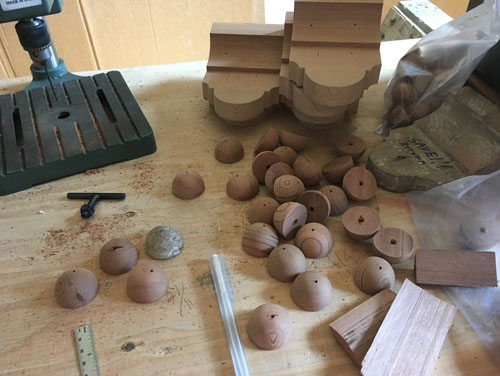
He also had a carpenter make parts for us: the buttons from the front porch, here (we have additional buttons that are on the roof brackets, but they are a different size, of course), these little corbels for under the windowsills.
It's an incredibly tedious, detailed process.
Our focus right now is on getting the driveway side of the house done enough to remove the scaffolding. That will allow the general contractor to do a couple of things: the roofer needs to come in and repair some roofing they damaged while putting up the gutters (of course they did). And then the driveway sub can come in and remove the old driveway and replace it with our fancy new permeable driveway. This will remove a major irritation for me, which is the runoff down the driveway every time it rains. Also it will mean we have a driveway that is two cars wide, which will be overall a nicer thing to have.
In this push, Woody's crew is hard at work on the details of the west side of the house, which include the front porch roof (the scaffolding for the front porch is sitting on the driveway). Yesterday Woody pulled me over to show me the metal decorative rail, which he'd removed from the roof to clean up some more:
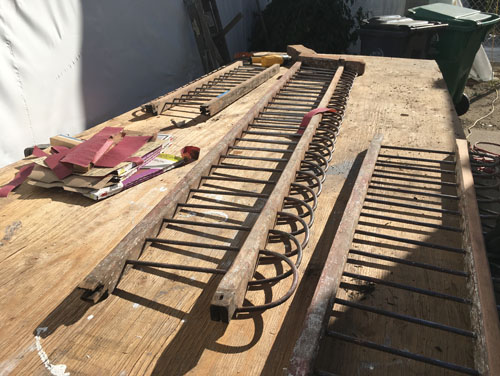
This railing looked beaten to death when it was on the house. The wood appeared totally rotten. But that was an artifact of the interesting thing about lead paint. The thing about lead paint is that it oxidizes over time, and "blooms" -- it kind of grows. This can look like rotten wood, if people keep painting over it. The lead paint on the front porch was under layers and layers of other paint -- our county lead abatement people call this encapsulation, and it is more or less successful as a strategy as long as you don't scrape the paint and as long as you keep up with the painting. But eventually you have to remove caked up paint, and you are going to expose that lead again.
Well, now there is no more lead paint on the front porch.
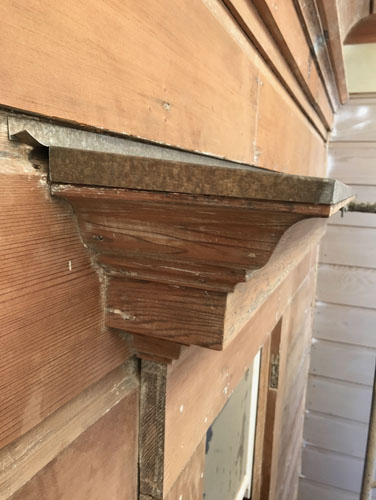
Another thing he did was fix the decorative metal "roof" over the bathroom window. This is the one window on that side of the house, but this process will have to happen with all the windows that have these decorative caps.
The main issue those caps had was that they were not sloped. I'd say not sloped enough, but you can see in the photo below that they were basically not sloped at all. Water just sat on them, and where water sits, it will infiltrate.
As part of this work, Woody removed the old lead caps -- you can see the original state here -- and had new caps made that had an actual slope built into them. Then he added a series of wooden wedges (made from old-growth reclaimed redwood, of course!) to hold the new metal caps up at a slope even if it sags over time.
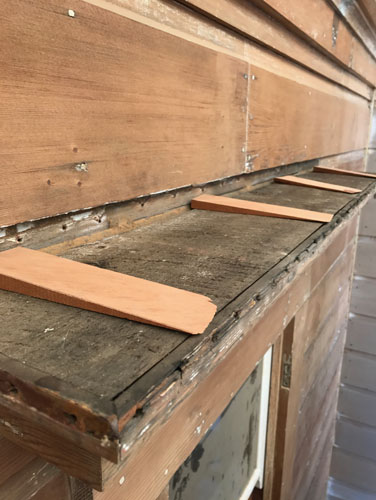
Hopefully this will help keep water out of the house. Interestingly, this was not actually where the windows were leaking before, so this is more belt and suspenders than necessary repair.
As you can see, the guys have been hard at work sanding the stripped wood, and in the next week they should start epoxy-sealing everything. It's been a long process. I'm happy to see it getting closer to the end.
posted by ayse on 10/06/17